Car detailing is more than just a car wash—it’s an art form that keeps vehicles looking fresh, clean, and protected from everyday wear. Whether you’re a car enthusiast or just want to maintain your vehicle’s resale value, a complete car detail can make a huge difference in your ride’s appearance.
For those looking to provide long-lasting protection, ceramic coatings offer superior durability and shine compared to traditional wax.
At ShinePro, we know that proper auto detailing goes beyond scrubbing the surface. It’s about using the right detailing process, tools, and techniques to keep your car exterior and car’s interior in top shape. This auto detailing guide will break down the steps, tools, and products needed to transform your vehicle from dusty to dazzling.
Related Article: Auto Detailing Insights: What Happens Behind-the-Scenes
What Is Car Detailing?
Car detailing is a meticulous process of cleaning and restoring a vehicle’s interior and exterior surfaces to their original condition. It involves a combination of techniques and products to achieve a showroom-like finish. Car detailing is not just about washing and waxing the car, but also about paying attention to every detail, from the interior upholstery to the exterior paint finish. Whether you’re a car enthusiast or a car owner looking to maintain your vehicle’s appearance, car detailing is an essential process that can help protect your investment and enhance its overall value.
Step 1: Pre-Detailing Preparation

Before starting the car detailing process, it’s essential to prepare your vehicle and gather the necessary supplies. Begin by removing any loose items from the interior and exterior of the car, including trash, personal belongings, and any removable parts such as floor mats and seat covers. Next, inspect the vehicle for any damage or areas that require special attention, such as scratches, dents, or stubborn stains. Finally, gather all the necessary car detailing supplies, including car shampoo, microfiber towels, wheel cleaner, and ceramic coating, to ensure a successful detailing job.
Step 2: The Right Tools for the Job
Before you start the car detailing process, gather everything you need. Car enthusiasts often invest in specialized tools and products to achieve the best results. Professional detailers use a variety of products and tools to tackle stubborn dirt, swirl marks, and surface contaminants. Here’s what you’ll need:
- Pressure washer or garden hose – For rinsing off road grime and brake dust
- Wash mitts – To avoid light scratches
- Microfiber towels and microfiber cloths – For drying and buffing
- Car shampoo – Specifically designed for safe cleaning
- Clay bar – Removes as much dirt and stuck-on contaminants
- Car wax or paint sealants – Adds an additional protective layer
- Vinyl wrap protectant – Maintains plastic trim and wrapped areas
- Tire dressing – Keeps tires looking new
- Wheel cleaner – Removes brake rotors and brake dust
- Leaf blower – Helps dry the car faster and avoids porous surfaces getting waterlogged
- One bucket or two – To avoid cross-contamination while washing
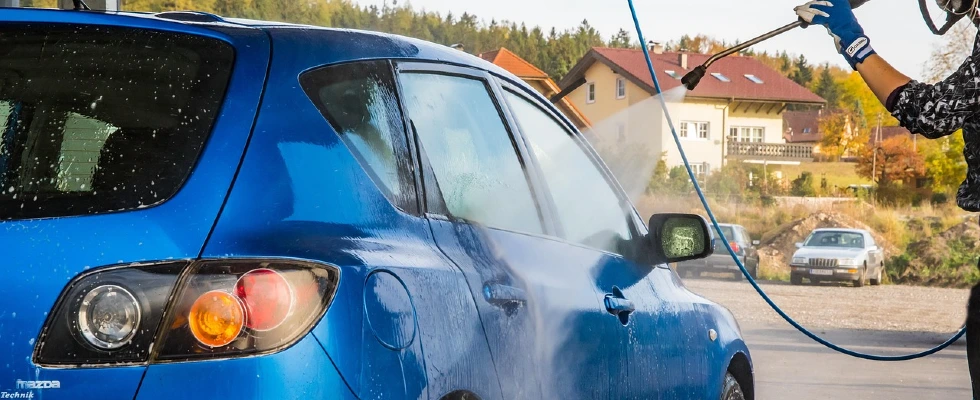
Step 3: Exterior Detailing – Wash Your Car Like a Pro

Rinse First
Start by rinsing off dirt, tree sap, and debris using a pressure washer or garden hose. This helps remove as much dirt as possible before you touch the paint.
The Two-Bucket Method
Use one bucket for clean soapy water and another for rinsing your wash mitts. This prevents dirt from scratching your car’s paint and car’s clear coat.
Clay Bar Treatment
A clay bar removes stuck-on surface contaminants that soap alone won’t clean. Glide the bar over wet paint for a smooth, glass-like finish.
Drying the Car
Use microfiber towels or a leaf blower to remove excess water and prevent water spots on the car exterior.
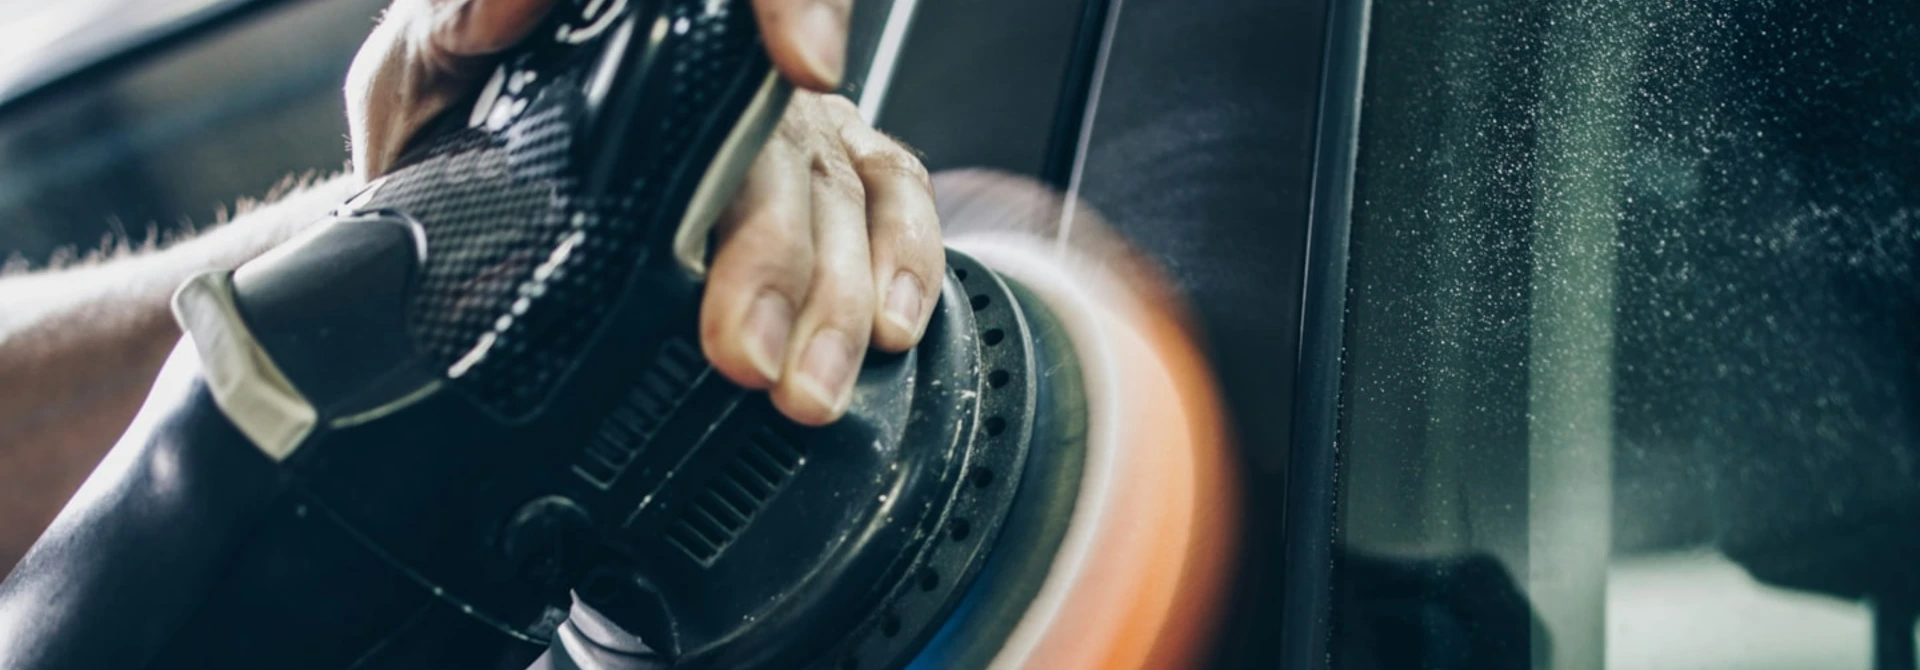
Wax or Ceramic Coating?
For the final detailing job, apply car wax or a ceramic coating for a hydrophobic surface that repels water and dirt. When applying ceramic coatings, it’s crucial to use pH-neutral car cleaners to avoid damaging the coating.
Step 4: Interior Detailing – A Deep Cleaning Experience

Vacuum and Remove Loose Dirt
Start by vacuuming the interior car surfaces, focusing on hard-to-reach areas like under seats and between panels.
Shampoo and Condition
Use car shampoo to clean carpets and upholstery, removing stubborn dirt and odors.
Plastic Trim and Vinyl Wrap Care
Apply protectants to plastic trim and vinyl wrap areas to keep them looking new.
Glass and Dashboard Cleaning
Clean your car’s interior windows and dashboard with streak-free cleaner to keep visibility crystal clear.
Step 5: Wheels, Tires, and the Engine Bay
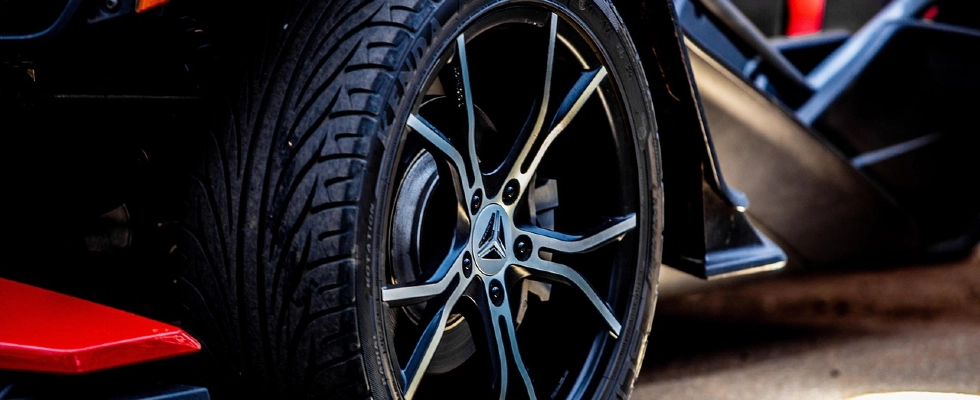
Wheel Cleaning Products
Apply wheel cleaner to remove brake dust and grime from your brake rotors.
Tire Dressing
Tires complete the look, so apply tire dressing for a deep black finish.
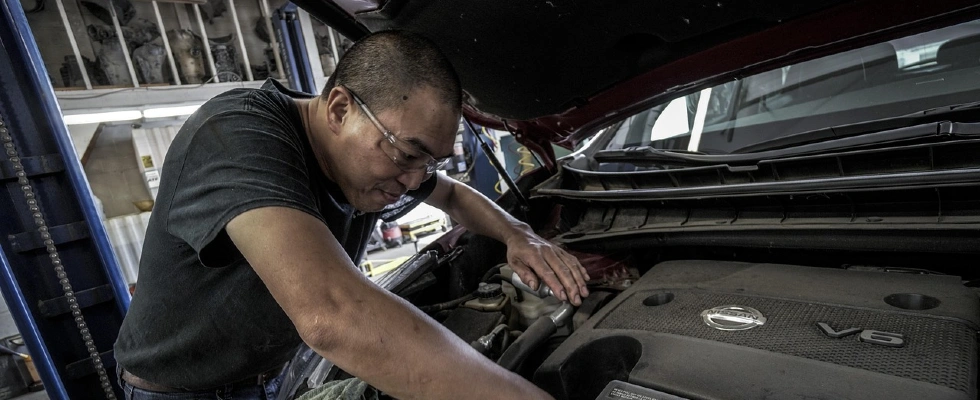
Engine Bay Cleaning
Use degreaser and microfiber towels to wipe down the engine bay and remove dirt buildup.
Step 6: Protecting the Paint and Avoiding Common Mistakes
Paint Correction for Minor Scratches
For light scratches, use paint correction techniques like buffing and polishing.
Sealants vs. Wax
Paint sealants last longer than car wax and add an additional protective layer to the car’s clear coat. Ceramic coatings, on the other hand, offer even greater longevity and protection, making them a popular choice among car enthusiasts.
Step 7: Tips for Maintaining a Detailed Vehicle

Maintaining a detailed vehicle requires regular upkeep and attention to detail. Here are some tips to help you keep your car looking its best:
- Regularly wash and wax your car. Doing so makes your clear coat and paint finish last longer.
- Use a microfiber cloth to clean the interior surfaces, including the dashboard, seats, and carpets.
- Vacuum the interior regularly to remove dirt and debris.
- Use a wheel cleaner to remove brake dust and grime from the wheels and tires.
- Apply a ceramic coating to protect the paint finish and make future detailing jobs easier.
- Avoid using harsh chemicals or abrasive materials that can damage the car’s surfaces.
By following these tips, you can maintain your car’s detailed appearance and protect its value for years to come.
Frequently Asked Questions About Auto Detailing
1. How often should I get detailed details of my car?
It depends on your driving habits and climate, but most car owners should aim for a complete car detail every 4 to 6 months. If your vehicle is exposed to extreme heat, tree sap, or road grime, you may need auto detailing more frequently.
2. What’s the difference between a car wash and auto detailing?
A car wash mainly removes surface dirt, while auto detailing involves deep cleaning, paint correction, interior detailing, and applying protective coatings like car wax or ceramic coating.
3. Will detailing remove swirl marks and scratches?
Yes! A proper detailing process, including paint correction, can reduce or eliminate swirl marks and light scratches, restoring the car’s paint and paint finish.
4. How long does a professional car detailing service take?
A detailing service can take anywhere from 2 to 6 hours, depending on the level of cleaning and protection applied. Professional detailers may take longer for services like clay bar treatments and ceramic coating.
5. Can I detail my car myself, or should I hire a professional?
While a DIY detailing job is possible, professional detailers have the right tools and expertise to reach hard-to-reach areas, prevent swirl marks, and apply paint sealants correctly. If you want showroom-quality results, a detailing business like ShinePro is the best choice.
Why Professional Auto Detailing Services Matter
While car owners can do a great job at home, detailing service from professional detailers like ShinePro takes things to the next level. From deep cleaning to paint finish perfection, we provide expert results that DIY methods just can’t match.
Read more in our Auto Detailing Info Hub.
Need professional auto detailing in Oklahoma City? Don’t wait—contact us today!
