Winter can be tough on an RV. When temperatures drop, water freezes, pipes crack, and expensive repairs can follow fast. Learning how to winterize an RV properly is one of the smartest things you can do to protect your investment and avoid unpleasant surprises when spring arrives.
At ShinePro, we work with RV owners, travel trailer enthusiasts, and camper families who want their rigs protected year-round. While we specialize in detailing and mobile washing services, we also understand how seasonal care plays a huge role in keeping an RV in top shape. Whether you’re storing your RV, heading south, or braving cold weather, this guide walks you through everything you need to know.
Why Winterizing Your RV Matters
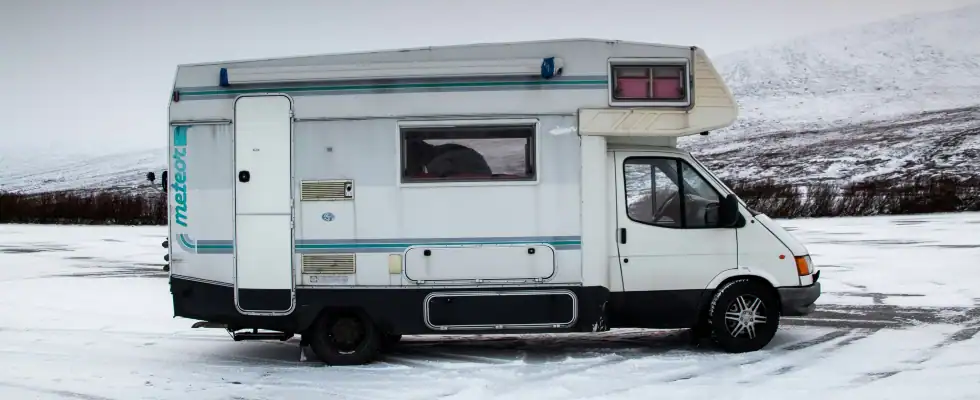
Cold weather and freezing temperatures are the biggest enemies of an RV water system. When water lines freeze, they expand. That expansion can crack pipes, damage the water pump, ruin faucets, and destroy your hot water heater or hot water tank.
Winterizing helps you:
- Protect water lines and tanks
- Prevent moisture buildup and mold
- Avoid costly plumbing repairs
- Keep your RV ready for spring travel
- Extend the life of your entire system
If you’re a senior member of the RV community or brand new to RV ownership, winterizing is not optional. It’s essential maintenance.
Step 1: Decide Your Winter Strategy

Before touching a hose or valve, decide how you’ll spend the winter.
- Head south and stay warm all season
- Use a four season RV with a heated underbelly
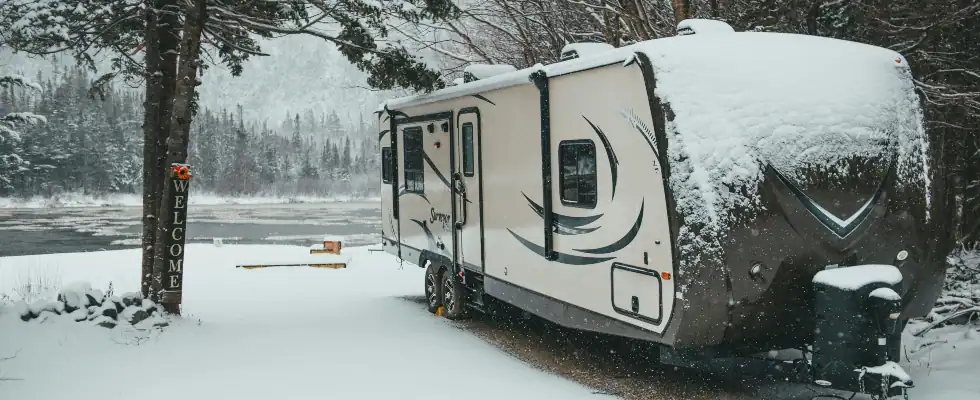
- Park the RV in storage and fully winterize
- Occasionally use the camper during winter trips
If you plan to store your RV or travel trailer, a full winterization process is the safest route.
Step 2: Drain the Entire RV Water System
Start by shutting off all power to the water heater. If it’s electric or propane, turn it off and let the system cool.
Then:
- Disconnect the city water connection
- Open all faucets, including cold faucets and hot faucets
- Open the low point drains for both hot and cold lines
- Drain the fresh water tank completely
- Flush the toilet to remove remaining water
This step removes as much water as possible before introducing air or antifreeze.
Step 3: Drain the Hot Water Heater
Your hot water heater or hot water tank holds several gallons of water. Leaving it full during freezing weather is a guaranteed disaster.
Steps:
- Remove the drain plug or anode rod
- Let all water drain
- Open the pressure relief valve to speed things up
- Bypass the water heater using the built-in valve system
Never put RV antifreeze directly into the water heater tank.
Step 4: Use an Air Compressor to Blow Out the Lines
Using an air compressor is one of the most effective ways to clear remaining moisture from water lines.
- Connect the air compressor to the city water inlet
- Set air pressure between 30–50 PSI
- Blow air through the system one faucet at a time
- Start with the faucet closest to the water pump
- Don’t forget the outside shower and bathroom sink
Compressed air helps remove trapped water that gravity alone can’t reach.
Step 5: Run RV Antifreeze Through the System

Once the lines are blown out, it’s time to add RV antifreeze.
- Use non-toxic antifreeze designed for RVs
- Place the suction hose into the antifreeze container
- Turn on the water pump
- Open each faucet until pink antifreeze flows
- Flush the toilet until antifreeze appears
- Run antifreeze through the shower and outside shower
Most RVs need 2–4 gallons, depending on system size.
Step 6: Protect the Sewer System and Dump Valves
Your sewer system needs attention too.
- Drain black and gray tanks completely
- Leave dump valves open briefly, then close them
- Add antifreeze to each drain
- Disconnect and clean the sewer hose
- Store the sewer hose in a dry location
Frozen dump valves are no fun to deal with in winter.
Step 7: Insulate and Add Extra Cold Protection
Even after winterizing, extra protection helps.
- Use foam insulation boards around exposed plumbing
- Add heat tape to vulnerable areas
- Install tank heaters if you plan winter use
- Check the heated underbelly if equipped
These steps help keep lines warm and reduce freezing risk.
Mid-Season RV Care and Cleaning
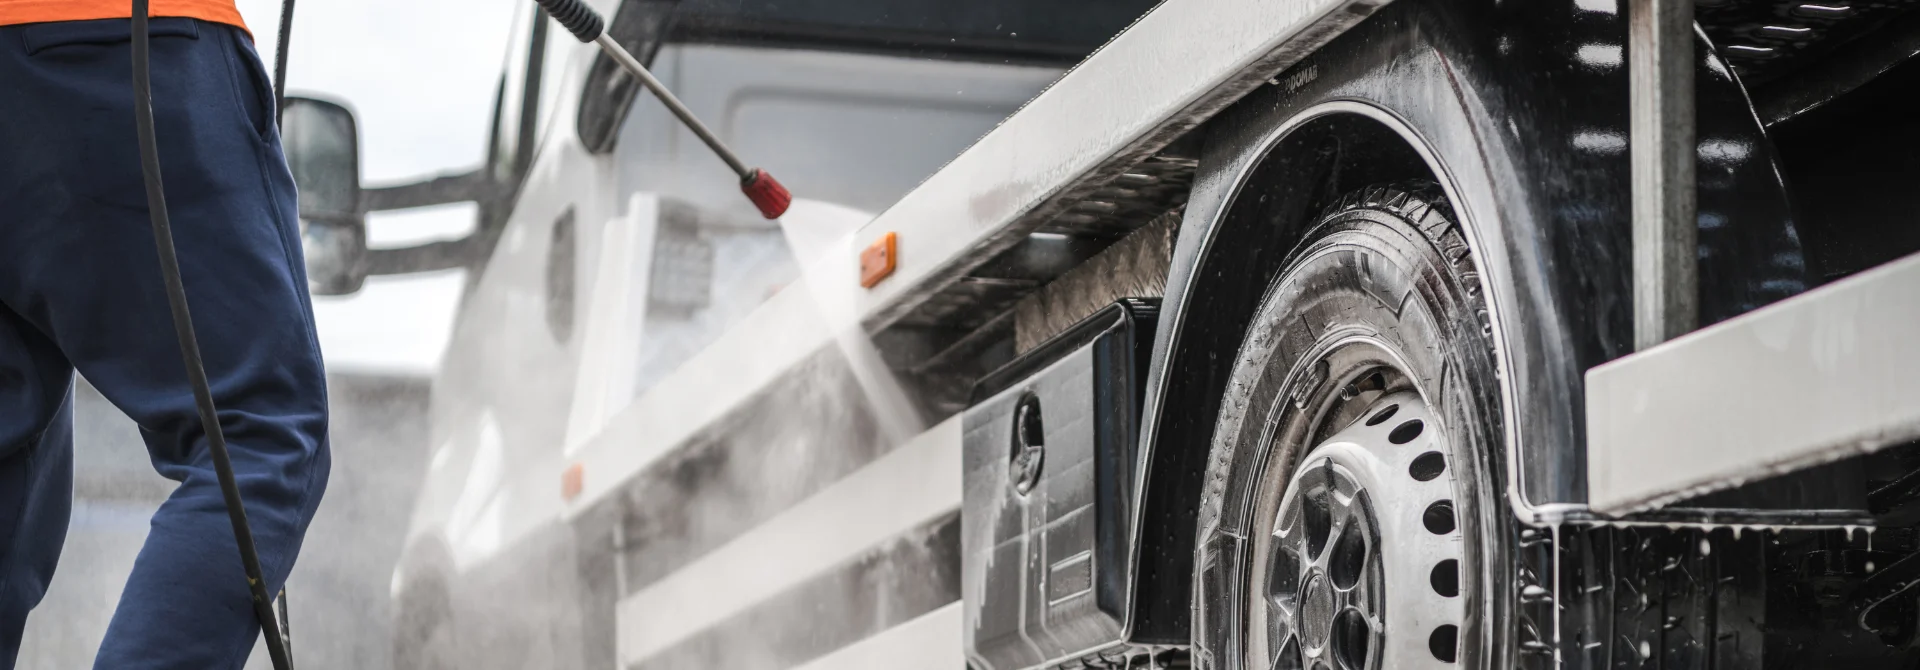
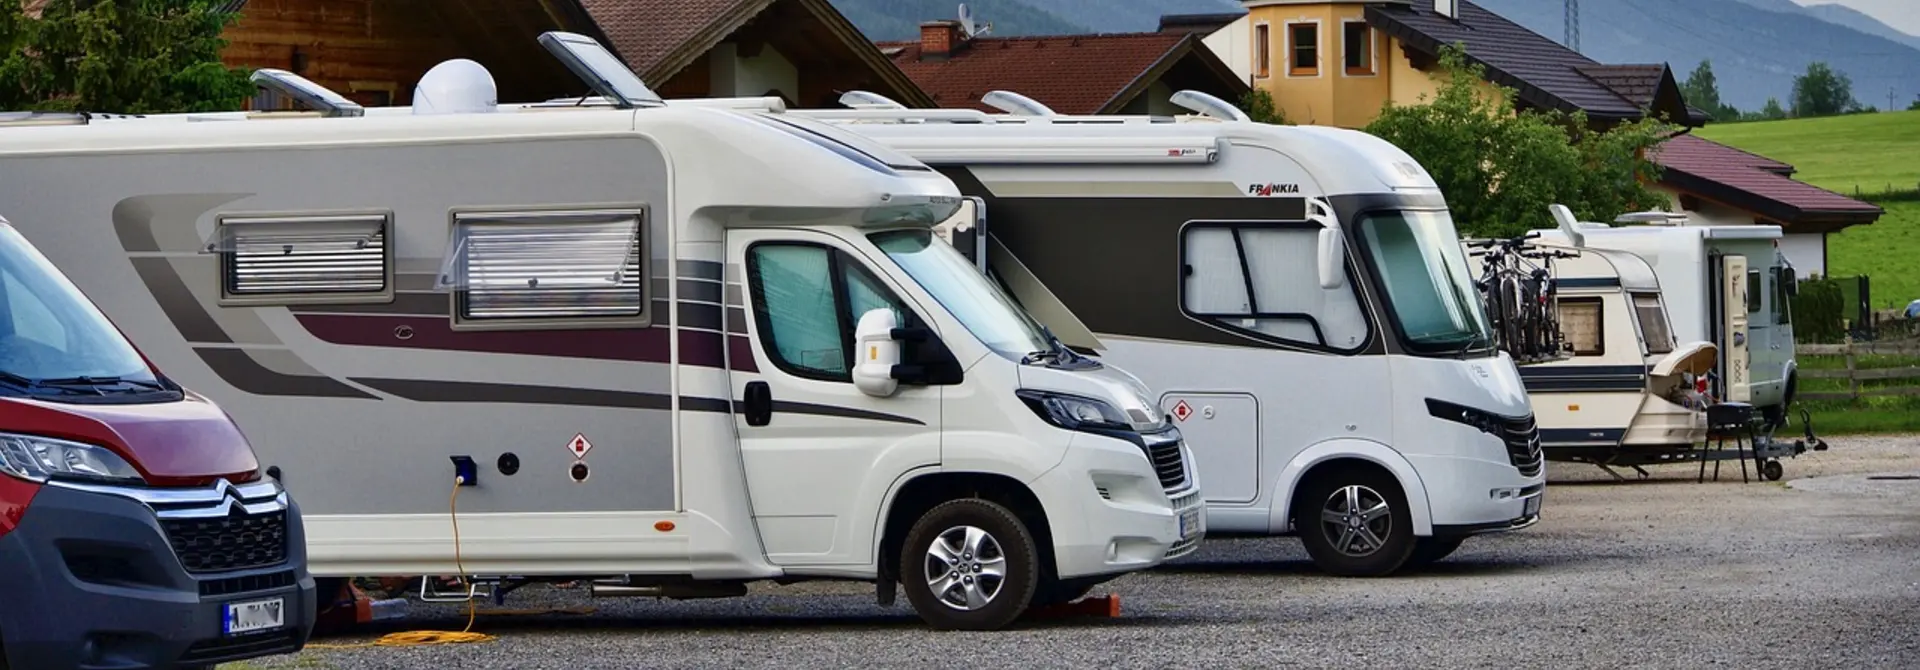
Winter doesn’t mean neglect. Exterior care still matters, especially before storage or after a winter trip. Many RV owners search for car detailing in “RV mobile wash near me“ because professional mobile washing helps remove road salt, snow grime, and moisture that can damage seals, windows, and exterior surfaces.
At ShinePro, our mobile wash and detailing services help protect RV exteriors from winter damage, ensuring your rig stays clean, dry, and ready for spring adventures.
Step 8: Prepare the Interior for Winter Storage
Inside your RV, moisture control is critical.
- Clean bathroom, kitchen sink, and shower thoroughly
- Remove food and perishable items
- Place moisture absorbers in cabinets and storage
- Leave cabinet doors open for airflow
- Close windows tightly and check seals
Keeping the interior dry helps prevent mold and odors.
Step 9: Protect Doors, Windows, and Vents
Cold air sneaks in through gaps.
- Inspect all doors and windows
- Seal drafts with weather stripping
- Cover roof vents with insulated vent pillows
- Close all vents unless airflow is needed
This keeps heat in and cold air out.
Step 10: Winterize Additional Items
Don’t forget the small but important stuff:
- Disconnect hoses and drain them
- Unplug shore power if storing long-term
- Remove batteries or keep them charged
- Check fire extinguishers
- Store bedding, stuff from under the bed, and soft items
These steps make spring setup much easier.
If You’re Using Your RV in Winter
Some RV owners still travel during winter.
Tips to stay warm and functional:
- Keep faucets dripping slightly
- Use space heaters carefully
- Insulate the camper floor
- Wear warm bedding and keep feet warm
- Monitor moisture daily
Always watch the weather and avoid heavy snow when possible.
De-Winterizing in Spring
When spring arrives:
- Flush antifreeze from the system
- Reconnect the water heater
- Sanitize the water system
- Inspect lines, faucets, and valves
- Check for leaks before your first trip
A careful transition prevents surprises.
Why RV Owners Trust ShinePro
ShinePro understands that RV care goes beyond just washing. We help owners protect their investment year-round with professional mobile services designed for RVs, travel trailers, and campers.
Our team:
- Handles RV exterior cleaning safely
- Removes winter grime and moisture buildup
- Helps extend the life of seals and finishes
- Saves you time and effort
Get Your RV Winter-Ready Today

Learning how to winterize an RV doesn’t have to be overwhelming. With the right steps, tools, and attention to detail, you can protect your water system, tanks, lines, and interior from freezing damage. From draining water lines and running antifreeze to insulating and preparing storage, each step plays a role in keeping your RV safe through winter.
And when it comes to keeping your RV clean before or after winter storage, ShinePro is ready to help. Our professional mobile wash and detailing services are designed to protect your RV from moisture, salt, and seasonal wear.
Contact ShinePro today to schedule your RV detailing or mobile wash service and keep your rig protected, clean, and ready for your next adventure. Your RV deserves year-round care, and we’re here to deliver it.